Here we are in August already with Summer waning and Fall
close on its heels. I have had one bustling season! Packed full of teaching,
stitching, writing, & travel, it has been an exciting time that I have
fully enjoyed. It was not the best summer for dyeing wool, though. We
experienced excessive heat and humidity for prolonged periods which really does
not help when you are standing over a steaming pot of water. Now we are seeing
the temperatures moderate and the evenings are cooler so I am looking
forward to natural dyeing that for me comes at this time. The black walnuts are
beginning to fall, goldenrod is beginning to bloom, and all of the other plants
are ready for the dye pot. This is the season to stock up on wonderfully dyed
wools, linens, and other textiles.
It has been a while since I have shared a Reshaped Project
from the book. This month I have created a simple Thread Caddy with a wonderful
idea for floss storage that I gleaned from a student in one of my workshops. I
will also share another wonderful idea for the book from a student. I will be offering
other Student Tips in future posts. It seems that I learn something myself from
a student in every class.
Thank you as always
for taking a class, sharing what you have made from the book, saying “Hi” at a
show, and just being so encouraging. I appreciate all of it!

This Student Tip comes from Sue in Arizona. While in a class
in Ohio , we were talking floss and Sue showed me how she keeps her DMC colors at
hand. She simply cuts multiple strands of floss to sewing length and separates them into the two strands needed for
stitching. Then Sue puts the separated two strands onto a thread minder according
to color where they are at the ready for use. I found this idea especially
helpful for stitching while on the road. Instead of fumbling with skeins of
floss while on the move, this tip helps keep things organized and convenient.
Also, the two strands are easy to remove each time you need to begin a new needle. Thank you, Sue for sharing this idea with me and letting me share it
with others.
House Thread Caddy : Reshaped project from
Wool Applique
Folk Art
by Rebekah L. Smith
Pattern from “Housing for
Papers” page 74
1) Make a larger pattern of the house (including
the chimney) by adding 1/4’’ all the way
around. This will be what you stitch the house parts to.
2) Once you make a freezer paper pattern of the
larger house background, cut two of these out of wool. One will be for the
background and one for the backing.
3) Once you have stitched your house parts you
will now layer together the top house wooly, a piece of cardstock or
lightweight chip board cut slightly smaller than the whole house and the backing house wool together and
stitch around the outside.
4) Add thread rings to the bottom of the house by
just stitching them to the wool.
Thread Caddy Cover
This cover is simply to keep your threads from
tangling while you travel.
Cut 2 pieces of fabric 14’’h x 6.5’’w. Add a 12’’
length of twill tape to each end. Pin the right sides of the fabrics together
inserting the twill tape in each end about 1/2’’. Be sure that your twill tape
is in between the layers of fabric. Sew all the way around leaving a 1/4'' seam allowance. Turn the cover right side out and iron flat being sure to turn the raw edges of the opening under. Blanket Stitch all the way
around the outside of the cover.
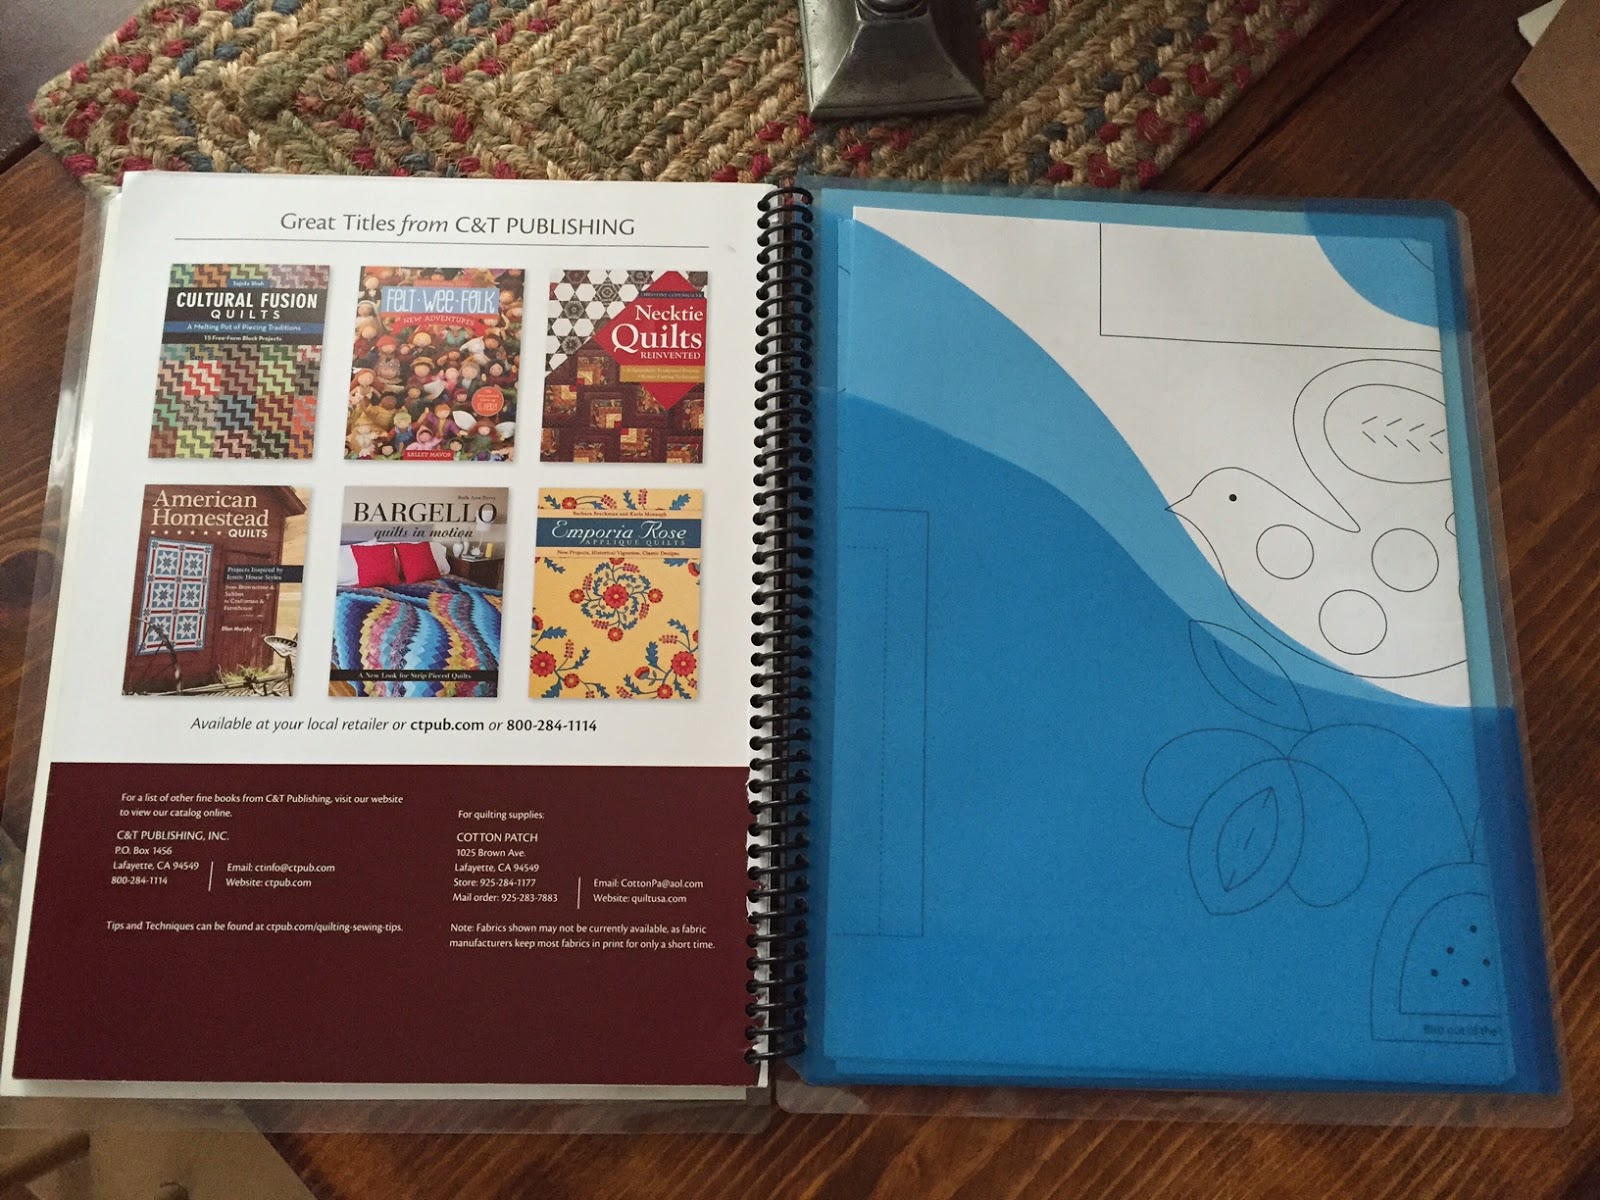
My second Student Tip comes from Kathy in Texas.
She not only had her Wool Applique Folk Art book spiral bound at the local copy
center, but she had them add a pocket in the back to keep pattern pieces
organized. I think this is a fantastic idea! Thank you, Kathy for letting me
share this very useful tip.
I will continue to share what I learn in
workshops. It is exciting to see what everyone brings, and I have really
learned so much from students. Thank you all who have had the opportunity to be
in one of my classes. I so enjoy meeting all of you!


 This Student Tip comes from Sue in Arizona. While in a class
in Ohio , we were talking floss and Sue showed me how she keeps her DMC colors at
hand. She simply cuts multiple strands of floss to sewing length and separates them into the two strands needed for
stitching. Then Sue puts the separated two strands onto a thread minder according
to color where they are at the ready for use. I found this idea especially
helpful for stitching while on the road. Instead of fumbling with skeins of
floss while on the move, this tip helps keep things organized and convenient.
Also, the two strands are easy to remove each time you need to begin a new needle. Thank you, Sue for sharing this idea with me and letting me share it
with others.
This Student Tip comes from Sue in Arizona. While in a class
in Ohio , we were talking floss and Sue showed me how she keeps her DMC colors at
hand. She simply cuts multiple strands of floss to sewing length and separates them into the two strands needed for
stitching. Then Sue puts the separated two strands onto a thread minder according
to color where they are at the ready for use. I found this idea especially
helpful for stitching while on the road. Instead of fumbling with skeins of
floss while on the move, this tip helps keep things organized and convenient.
Also, the two strands are easy to remove each time you need to begin a new needle. Thank you, Sue for sharing this idea with me and letting me share it
with others. 


 We are finally thawing out here in Northeast Ohio! Our snowdrops are blooming, there is only a few piles of snow left, and the birds are singing. I am also busier than ever with workshop preparations & book writing.
 Mach Reshaped
 Another Statehood Day is here again in the great state of Ohio! I have made it a tradition each year to offer a wool applique project that commemorates the day. This year I am sharing my diminutive version of the Ohio Flag. Although, not technically a flag, it is an iconic symbol of our state and I enjoy seeing it wave in the wind or hanging like a banner. According to 50states.com the design is called a swallowtail (which appeals to the bird lover in me) and the topography of the state is represented by the triangles & stripes. Although there are supposed to be 17 stars (Ohio is the 17th State) I was only able to fit a few.


